
How we do it
Quality isn't just about the glass. It's about how it's installed.
At Blue Chip Auto Glass, we believe a proper windshield replacement requires more than simply removing the old glass and installing a new one.
From inspecting your vehicle before work begins to preparing the bonding surfaces and completing final safety checks, every step matters.
We take pride in doing the job right, even when that means taking additional steps other installers may skip.
Here's what you can expect when you trust our technicians with your vehicle.
Step 1
Insurance or out of pocket?
Using insurance or paying yourself, we'll guide you from quote to installation, including calling your insurance company with you.
Insurance or out of pocket, how does it work?Phase 1
Inspection & Protection
- 2
Step 2
Vehicle Inspection & Documentation
Before beginning any work, our technicians carefully inspect your vehicle's interior and exterior for existing damage or areas of concern.
We photograph your vehicle before starting the installation to document its condition and ensure accountability throughout the process.
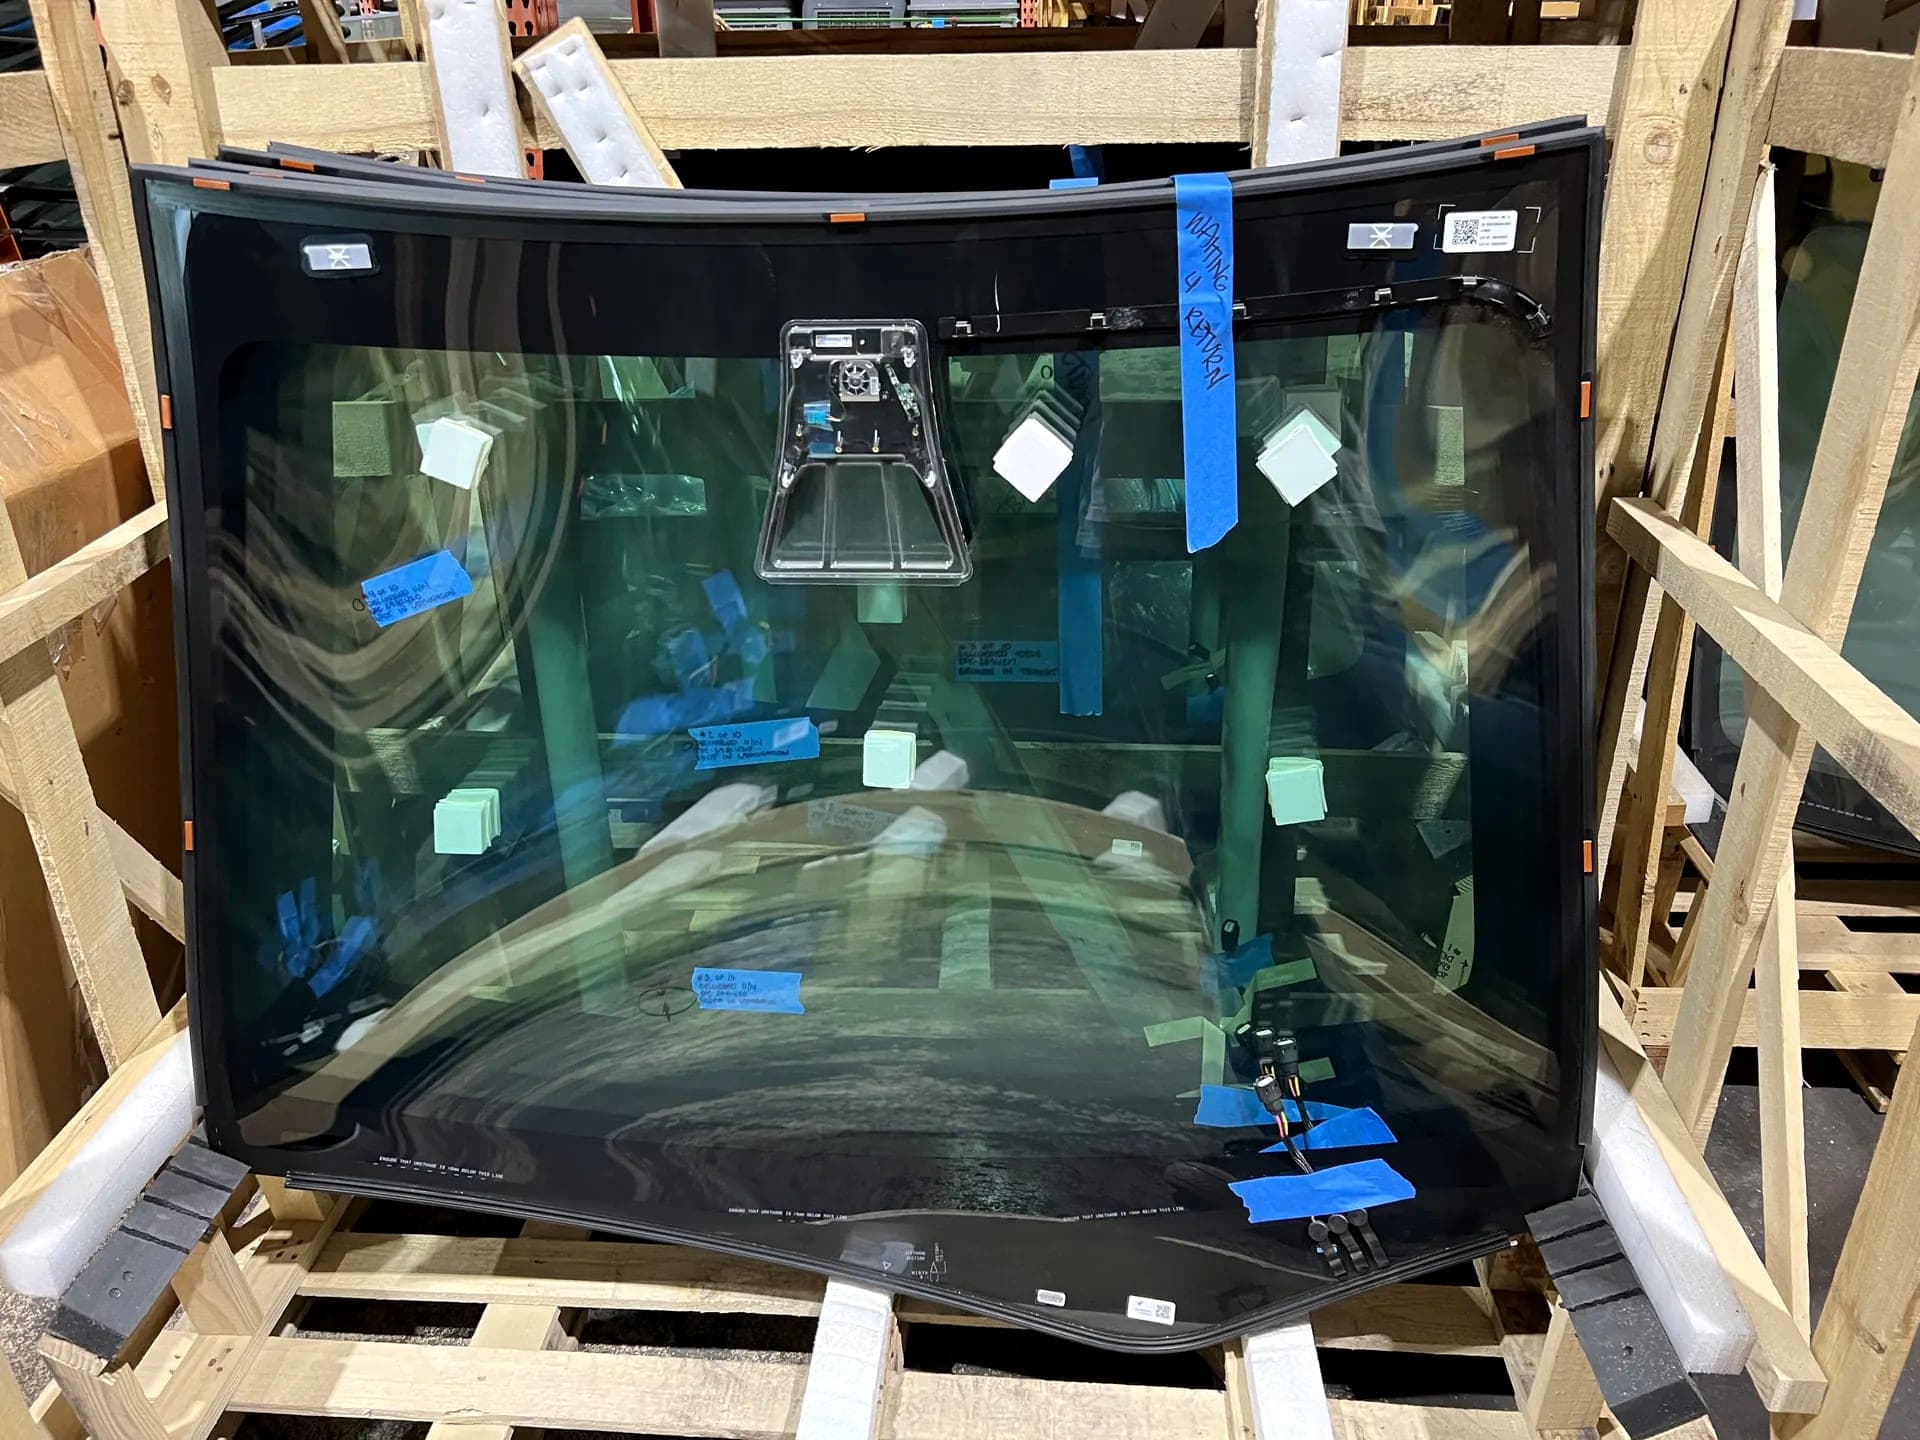
We also inspect and clean your replacement windshield before installation, checking for scratches, optical distortion, and other imperfections.
Why it matters
Thorough documentation protects our customers and technicians, while inspecting the replacement glass helps prevent defective materials from being installed.
- 3
Step 3
Protecting Your Vehicle
Before removing any components, we install protective dashboard mats and seat covers.
These coverings help protect your vehicle's interior from dust, debris, tools, and accidental contact during the replacement process.
Why it matters
We believe protecting your vehicle is just as important as replacing your windshield.
Phase 2
Removal & Preparation
- 4
Step 4
Removing the Wipers & Cowl
We carefully remove the windshield wipers and cowl panel located at the base of your windshield, when applicable.
Why do we remove the cowl?
Some installers leave the cowl in place and attempt to slide the new windshield underneath it. While this can save time, it limits access to the lower windshield bonding area.
At Blue Chip, we take the additional time to remove the cowl to provide our technicians with maximum working clearance.
This allows us to access the lower bonding area more easily, properly prepare the surface, and position the replacement windshield with greater control.
Why it matters
Better access means a more controlled installation and less risk of damaging surrounding components. We don't believe in cutting corners to save a few minutes.
- 5
Step 5
Removing Mirrors, Cameras & Interior Components
Next, we carefully remove the rearview mirror, forward-facing camera assembly (when equipped), camera covers, and any other components that require removal to access the windshield.
These components are handled carefully and set aside for reinstallation.
Why it matters
Modern vehicles contain sensitive cameras and electronic equipment that require proper handling throughout the replacement process.
- 6
Step 6
Removing the Original Windshield
Our technicians use specialized windshield removal equipment to cut through the existing urethane adhesive that bonds the glass to your vehicle.
Depending on the vehicle, we may use several professional tools:
- Express Tool: A powered cutting tool designed to separate the windshield from its existing adhesive.
- Cold Knife: A specialized manual cutting tool used to cut through windshield urethane.
- BAT Removal Tool: A drill-powered cord or wire cutting system that allows technicians to cut through the adhesive with controlled precision.
We select the appropriate equipment based on the vehicle's design and accessibility.
Why it matters
Professional removal equipment helps minimize unnecessary contact with the vehicle's paint, dashboard, and surrounding bodywork.
- 7
Step 7
Removing Old Urethane & Cleaning the Pinchweld
Once the original windshield has been removed, we carefully prepare the pinchweld—the metal frame surrounding the windshield opening.
At Blue Chip, our typical process involves removing the entire old urethane bead rather than simply installing new adhesive over the existing material.
Where the approved adhesive system requires retaining a thin layer of sound urethane, we follow those specifications.
After removing the old adhesive, we wipe down the pinchweld with a damp, clean cloth to remove loose dirt and debris. We then allow the surface to dry and complete any additional cleaning required by the adhesive manufacturer.
Our technicians also inspect the entire bonding area for scratches, exposed metal, corrosion, or other conditions that could affect the installation.
Why it matters
A clean, properly prepared bonding surface is essential to achieving a strong and reliable windshield installation.
- 8
Step 8
Rust Removal & Pinchweld Priming
One of the most important steps
This is one of the most important steps in our installation process.
At Blue Chip, we incorporate pinchweld priming into every windshield replacement, using the appropriate primer and application procedure for the vehicle and adhesive system.
What happens if we discover rust?
We don't simply cover existing rust with primer.
If we encounter surface corrosion, we mechanically remove the rust, typically by carefully grinding the affected area, before treating and priming the exposed metal according to the appropriate repair procedure.
More extensive corrosion or structural damage may require additional repairs before a safe windshield installation can proceed.
Primer serves several important purposes:
- Corrosion protection: Helps protect properly prepared exposed metal from moisture and future corrosion.
- Adhesive bonding: Promotes adhesion where specified by the bonding system.
- Leak prevention: Proper surface preparation and adhesion help reduce the risk of water intrusion and wind noise.
- Structural integrity: A properly bonded windshield contributes to the vehicle's structural performance and occupant protection.
Why it matters
Applying primer over untreated rust does not fix the underlying problem. We believe corrosion should be properly addressed before the new windshield is installed.
Phase 3
Installation & Reassembly
- 9
Step 9
Preparing & Activating the New Windshield
Before installation, we prepare the new windshield's bonding surface using the appropriate cleaning products, activators, and primers specified for our adhesive system.
When required, an activator is applied to the designated bonding area to prepare the glass for urethane adhesion.
Why it matters
Proper preparation helps create a durable, watertight adhesive bond between the windshield and vehicle.
- 10
Step 10
Applying High-Strength Urethane Adhesive
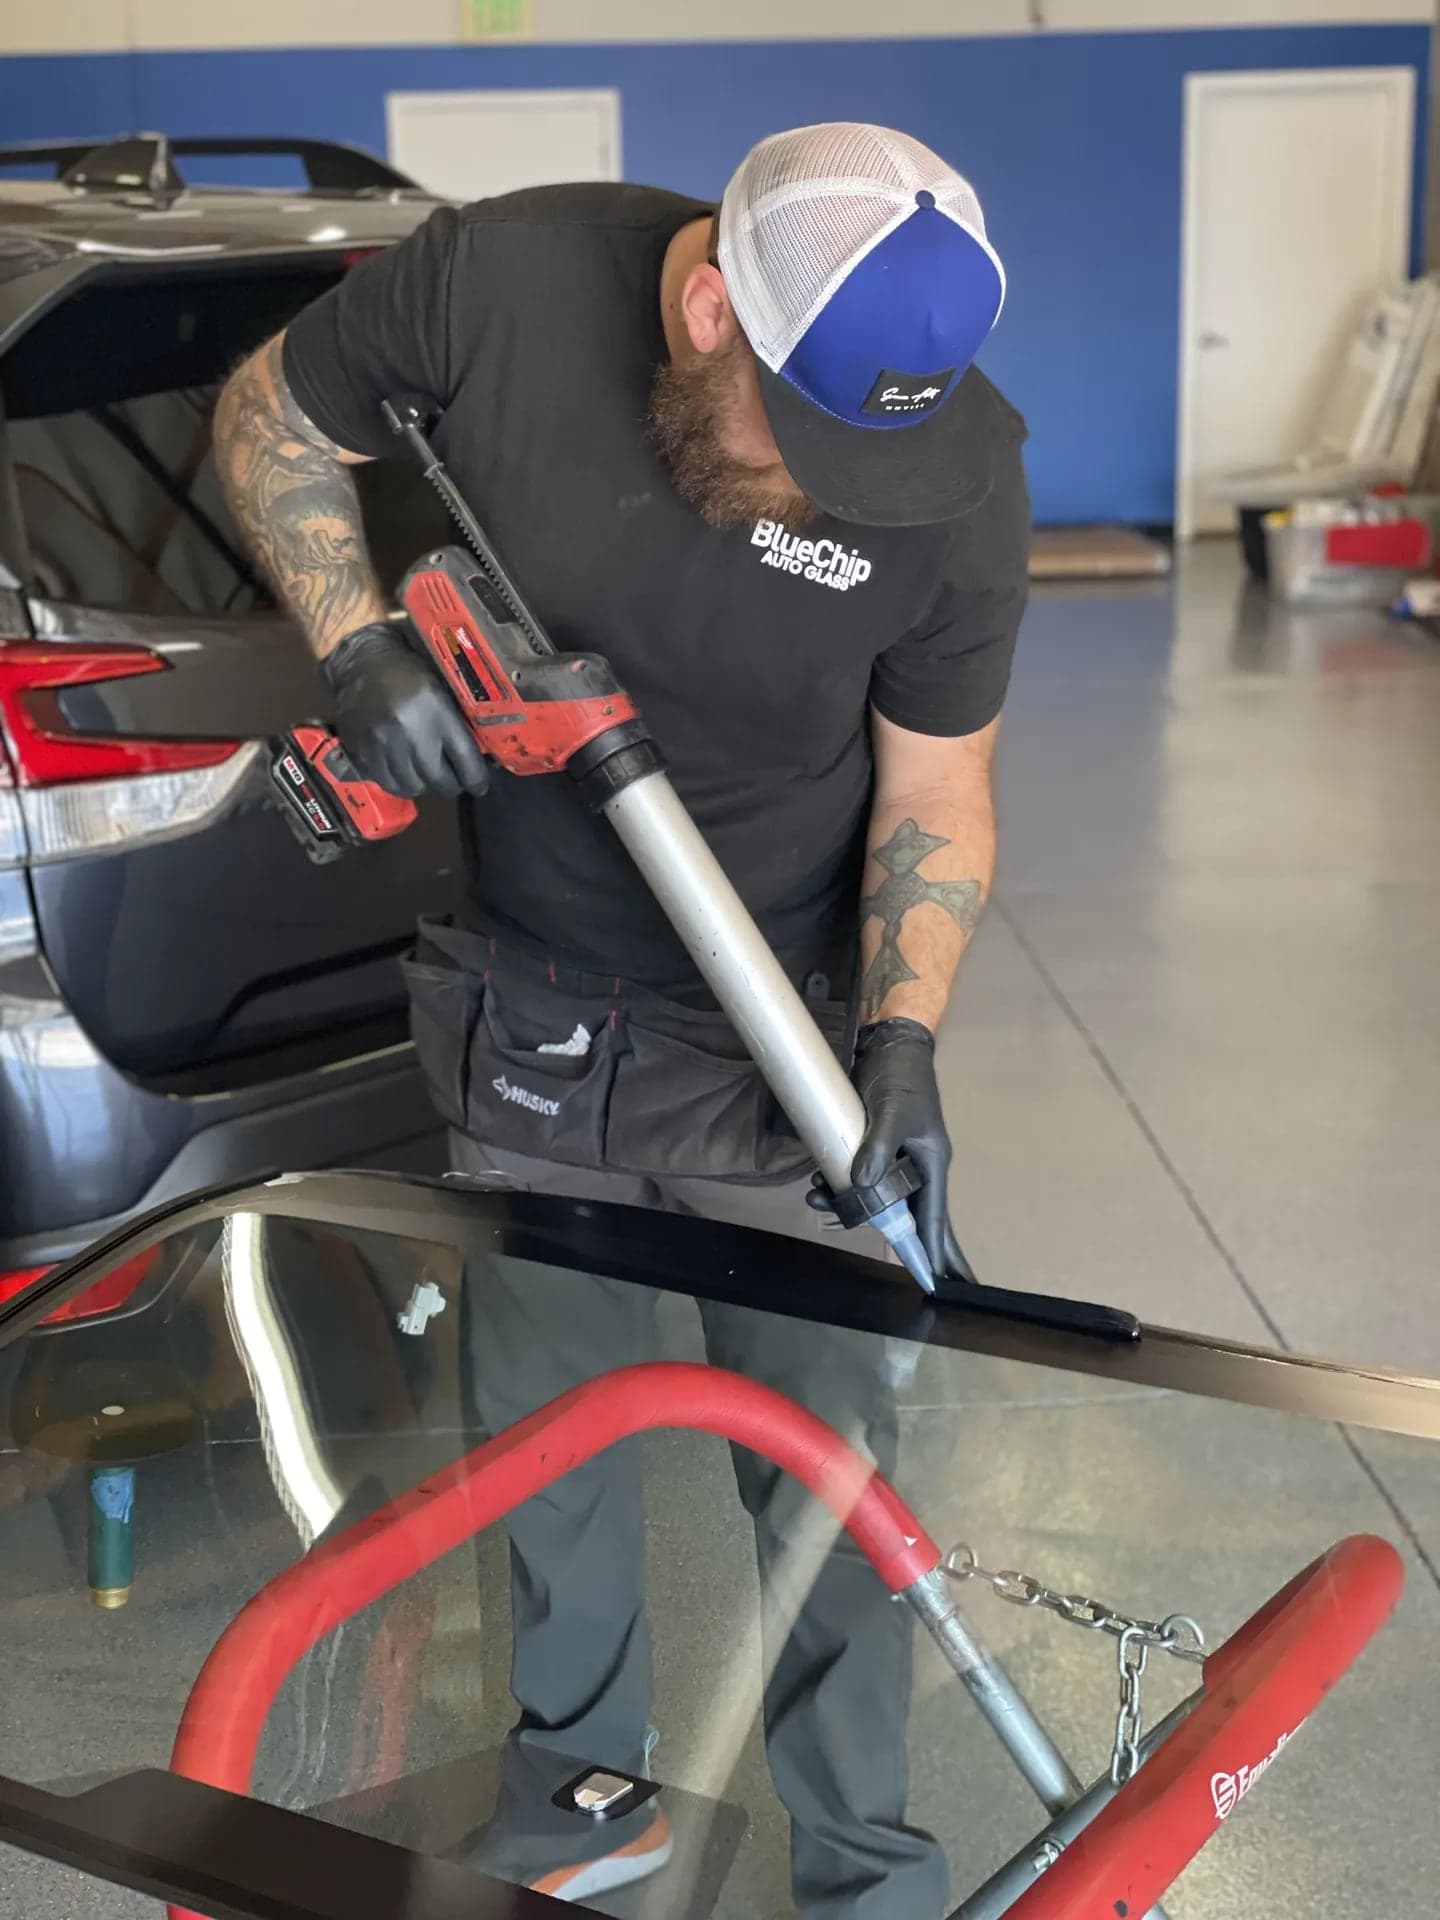
We apply a continuous, properly shaped bead of professional automotive-grade urethane adhesive to the designated bonding surface.
We use high-quality adhesive systems from trusted manufacturers such as Sika and DOW.
Windshield urethane is more than ordinary glue. It is a structural adhesive designed to secure the glass to the vehicle.
Why it matters
Proper adhesive selection, bead placement, and application are critical to windshield retention, water resistance, and installation safety.
- 11
Step 11
Installing & Aligning Your New Windshield
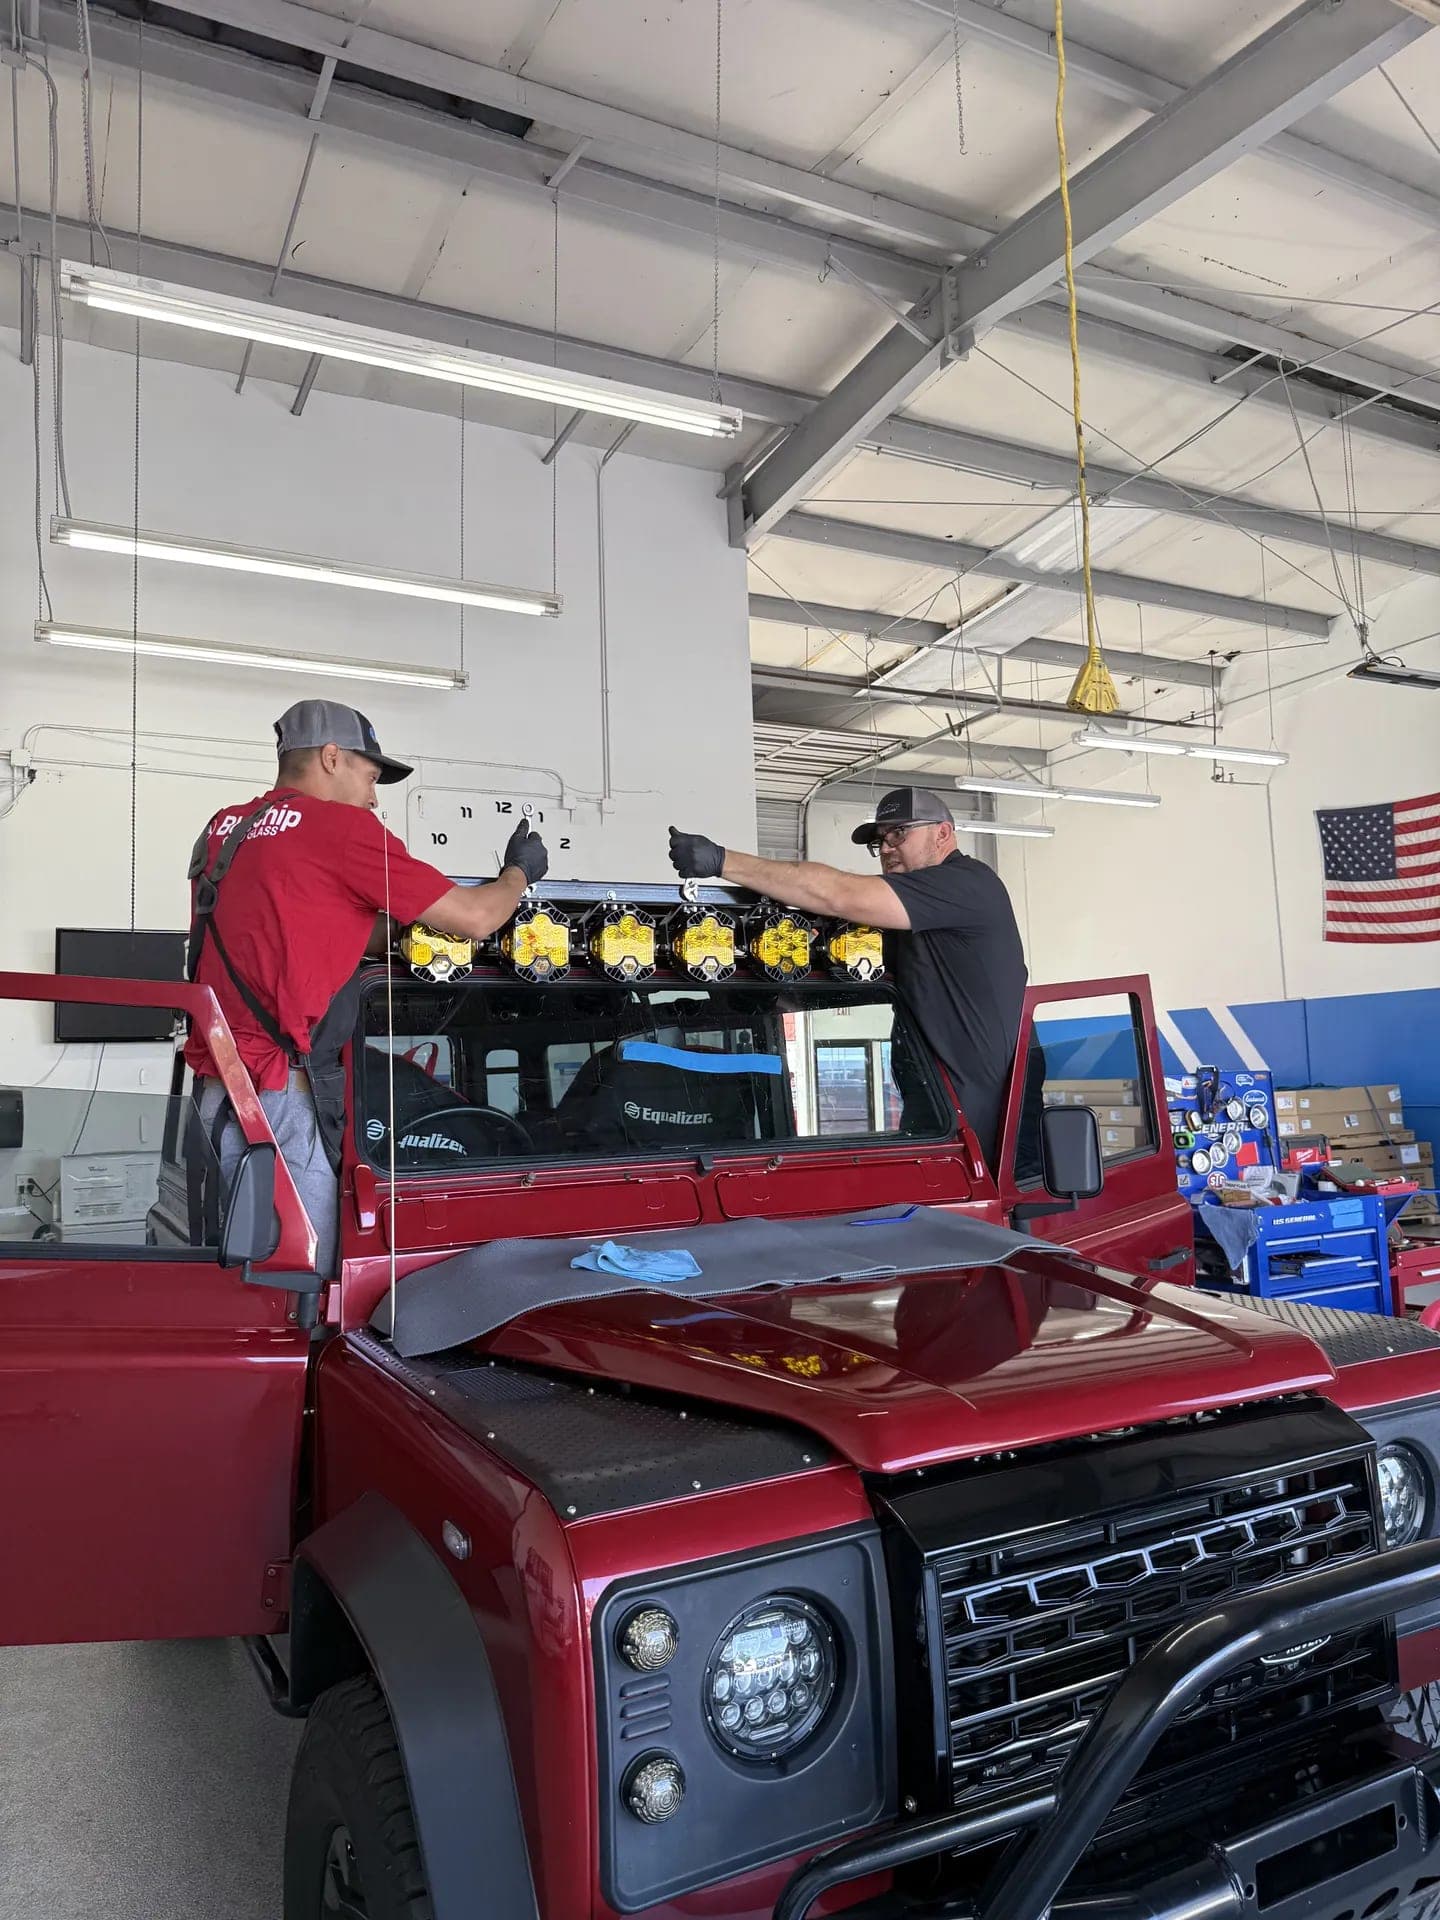
With the adhesive in place, we carefully position and install your new windshield.
Our technicians check the alignment, spacing, and overall fitment, making any necessary adjustments within the adhesive manufacturer's permitted working time.
Why it matters
Proper positioning helps ensure a clean appearance, correct fitment, and consistent contact with the adhesive.
- 12
Step 12
Reassembling Your Vehicle
Once the windshield is correctly positioned, we reinstall the components removed during the replacement process.
Depending on your vehicle, this may include:
- Forward-facing camera assembly
- Rearview mirror and camera covers
- Windshield cowl panel
- Windshield wiper arms
- Other applicable trim and components
We verify that the components are properly secured and positioned.
Why it matters
Careful reassembly helps preserve your vehicle's original appearance and ensures components are returned to their proper positions.
Phase 4
Calibration & Final Inspection
- 13
Step 13
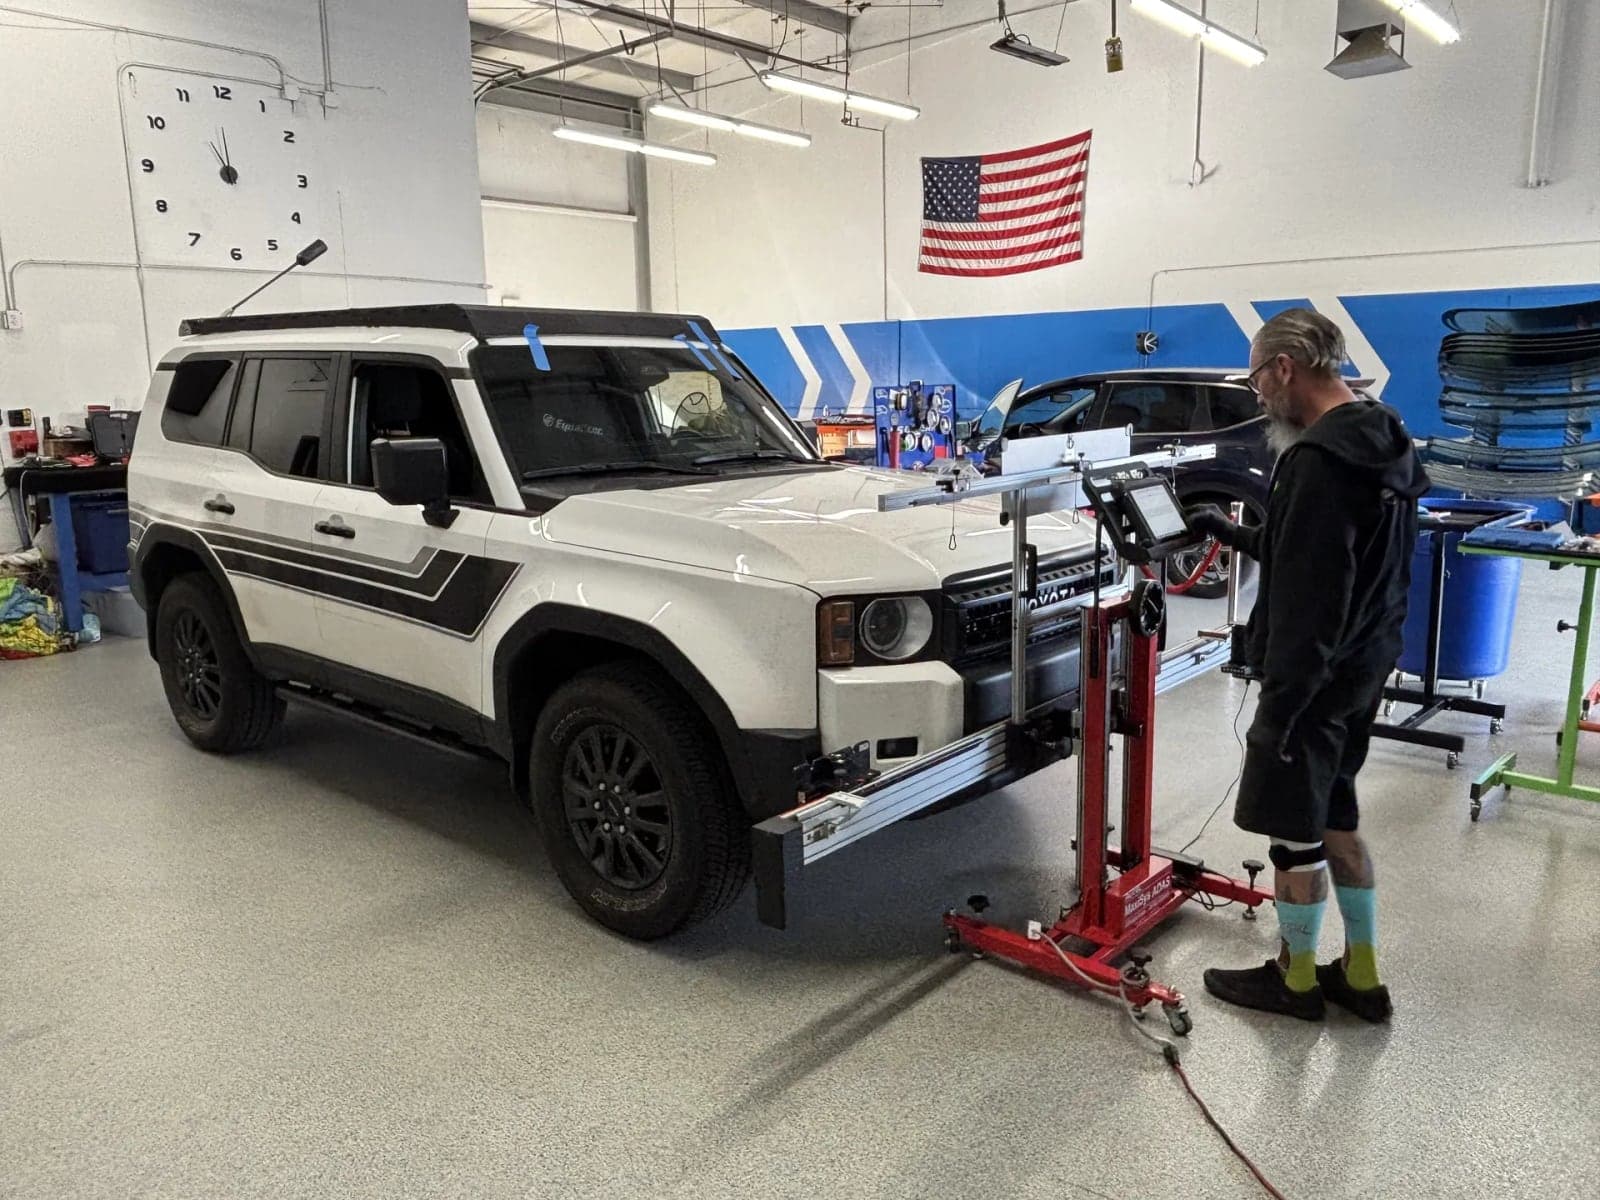
ADAS Camera Recalibration (When Required)
Learn more: Our ADAS Camera Recalibration ProcessMany modern vehicles have forward-facing cameras mounted to the windshield. These cameras support advanced driver assistance systems (ADAS), including:
- Lane departure warning
- Lane keeping assistance
- Automatic emergency braking
- Other camera-based driver assistance features
When required by the vehicle manufacturer, our technicians perform the appropriate ADAS camera recalibration procedures after windshield replacement.
Depending on the vehicle, this may involve specialized calibration targets, diagnostic equipment, and/or a controlled road-driving procedure.
- 14
Step 14
Final Cleaning, Inspection & Safe Drive-Away
Before returning your vehicle, our technicians complete a final quality inspection.
We remove all protective coverings, vacuum any installation-related debris, and thoroughly clean your newly installed windshield.
We also inspect the surrounding trim and components to verify that everything has been properly reassembled.
Most importantly, we observe the adhesive manufacturer's required minimum safe drive-away time before releasing your vehicle.
This waiting period allows the urethane adhesive to develop the strength necessary to meet applicable safety requirements.
Why it matters
Your windshield replacement isn't complete until your vehicle has been cleaned, inspected, and is safe to return to the road.
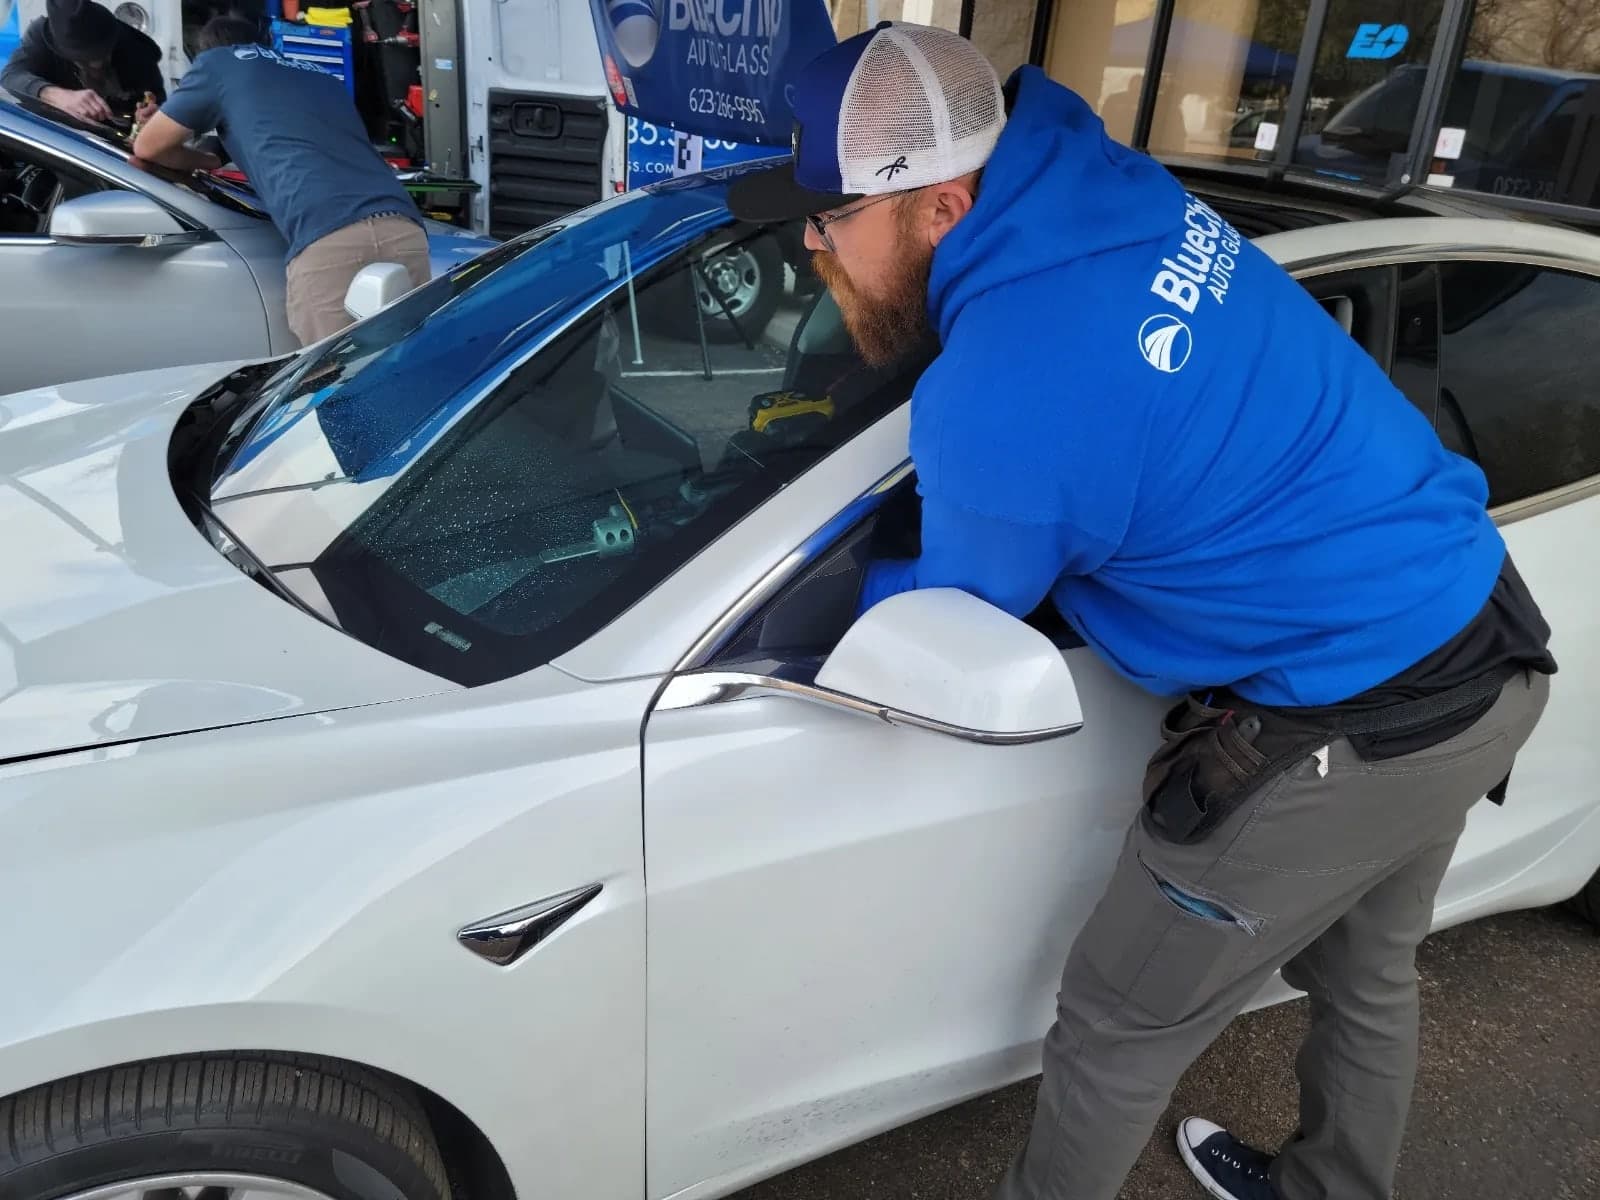
Watch us work
See the process on real cars
Filmed on the job by our technicians. Tap a video to watch it with sound.
Scroll for more videos →
The Blue Chip Difference
We believe quality should never be sacrificed for speed.
A windshield replacement may look simple from the outside, but the quality of the installation depends on the details you don't always see.
At Blue Chip Auto Glass, we take pride in those details.
From documenting your vehicle's condition and removing the cowl for better access to addressing corrosion and carefully preparing the bonding surfaces, our technicians follow a thorough installation process.
Because when it comes to your vehicle's safety, doing the job right matters.
Ready to replace your windshield?
Whether you're using insurance or paying out of pocket, our team will guide you through the entire process.
Request Repair Or Replacement Service
Answer a few quick questions and we'll get back to you fast, whether you're paying yourself or using insurance.
Prefer to talk to someone?
(602) 885-5330
Mon–Fri · 7:30 a.m.–5:00 p.m.